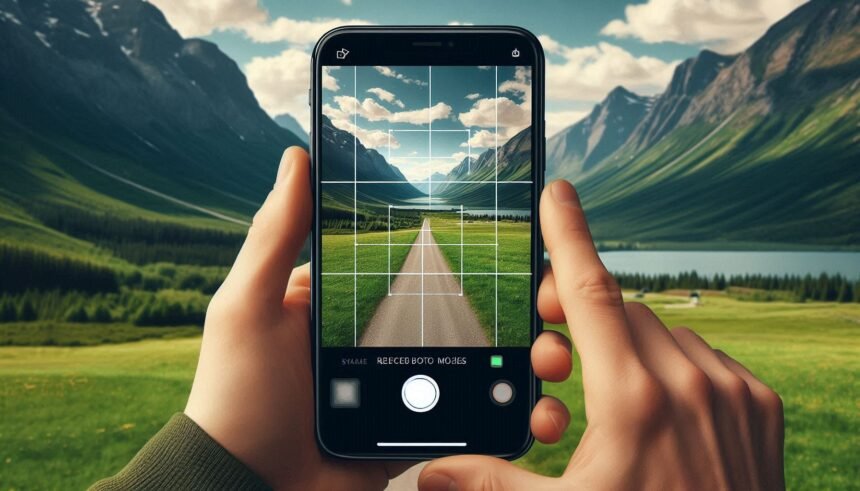
The iPhone’s camera is packed with features that help you capture stunning photos, and one of the most useful tools is the grid feature. Turning on the grid overlays a series of horizontal and vertical lines on your screen, helping you align your shots more accurately and follow the rule of thirds for better composition.
If you want to step up your photography game and take more professional-looking photos, here’s a simple guide on how to turn on the grid in your iPhone camera.
Step-by-Step Guide to Turning On the Grid
1. Open the Settings App
To enable the grid, you’ll first need to open the Settings app on your iPhone. This app is where all your phone’s configurations and options are housed.
2. Scroll Down to Camera
In the Settings app, scroll down until you find the Camera option. It should be located among other apps like Photos and Music.
3. Select Camera Settings
Tap on Camera to open the camera settings. This is where you can adjust various aspects of the camera, including the grid.
4. Enable the Grid
Once in the Camera settings, look for the Grid option. This feature is often found under the Composition section. To turn it on, simply toggle the switch to the right (it will turn green when activated).
5. Open the Camera App
Now that you’ve enabled the grid, open the Camera app to start using it. You’ll see the grid overlay on your screen, consisting of two horizontal and two vertical lines that divide your frame into nine sections.
Why Use the Grid Feature?
The grid feature is a powerful tool for improving your iPhone photography. Here are some reasons why you should consider using it:
1. Rule of Thirds
The grid helps you follow the rule of thirds, a photography principle that suggests placing your subject along the grid lines or at the intersections for more balanced and dynamic photos. This technique draws the viewer’s attention to the subject in a natural way.
2. Straighten Your Shots
Whether you’re photographing a landscape or a cityscape, the grid helps you keep the horizon straight, ensuring that your photo is aligned correctly and looks professional.
3. Better Framing
The grid makes it easier to frame your subject within the photo, helping you decide where to place important elements. This is especially useful for portrait photography or architectural shots.
Tips for Using the Grid Feature
Now that you’ve turned on the grid, here are some tips for getting the most out of this tool:
- Align Horizons and Buildings: Use the grid to ensure horizons and buildings are level, avoiding the dreaded crooked photo.
- Follow the Rule of Thirds: Place your subject along the grid lines or at the intersections to create more visually appealing images.
- Balance Your Photos: The grid can help you balance different elements in your shot, ensuring nothing feels too heavy on one side.
Conclusion
Turning on the grid in your iPhone camera is a simple yet effective way to elevate your photography. Whether you’re a beginner looking to improve your composition or an experienced photographer wanting more control over your shots, the grid is an essential tool. Now that you know how to activate it, start practicing and see the difference it makes in your photos!


